Why Your Office Chair Hurts Your Lower Back (and 5 Adjustments to Try First)
You adjusted the height. You rolled the chair closer to the desk. And your lower back still aches by mid-afternoon. That's usually not a sign the chair is junk. It's a sign that two or three settings have drifted out of place, and the ones that matter most are the ones you can't see while you're sitting in them. Before you spend money on a replacement, run through the five adjustments below. Most people find at least one that's obviously wrong.
Why the Lower Back Complains First
Sitting isn't inherently harmful, but it is static. Your lower spine has a natural inward curve, and that curve tends to flatten when you sit on a flat or overly soft seat. When it flattens, the load shifts onto structures that aren't built to carry it all day, and the muscles that hold you upright stay switched on for hours.
That distinction matters for what you'll feel. Muscular fatigue shows up as a dull, spread-out ache that eases when you stand and stretch. Joint irritation tends to be sharper and more localized. Most desk-related back pain is the first kind, which is exactly why geometry changes help so much.
If pain radiates down a leg, wakes you at night, or persists for more than a couple of weeks no matter how you sit, see a doctor or physical therapist. Chair settings are comfort measures, not a treatment plan.
1. Seat Height: Set It by Your Elbows, Not Your Feet
Almost everyone sets seat height by how their feet feel, and almost everyone gets it wrong. Use your elbows instead. Sit back against the backrest, let your arms hang, and bend your elbows to roughly ninety degrees. Adjust the height until your forearms rest level with the desk surface, or just a hair above it. Then check your feet: flat on the floor, thighs roughly parallel to it, knees level with your hips or slightly lower.
If your feet now dangle, don't drop the chair back down — that would round your lower back to fix a desk problem. Add a footrest. If the chair won't go low enough for your desk, raise your keyboard instead, using a tray or an adjustable standing desk.
- Hips sliding forward, shoulders rounding: the chair is too high.
- Knees sitting above the hip crease, pelvis tucked under: the chair is too low.
- Tingling or numbness behind the thighs: the front edge is pressing on nerves — usually a height or depth issue, not a cushion issue.
2. Seat Depth: The Adjustment Nobody Touches
You should be able to fit two or three fingers between the back of your knee and the front edge of the seat. That gap is the whole test.
Too deep, and you'll slide forward to protect the back of your legs, which ends with you perched on the front edge and your spine unsupported. Too shallow, and your weight lands on a smaller area, so you feel pressure under your thighs within an hour. If your chair has a sliding seat pan, move it and re-check the gap. If it doesn't, a thin lumbar cushion placed behind you can effectively shorten the seat by pushing you forward — an imperfect fix, but a useful one.
3. Lumbar Placement: Aim for the Belt Line
Lumbar support belongs where the curve is, not where it hurts. That means the small of your back, at or just above your belt line — the inward hollow above your pelvis. Plenty of people crank the pad up to their mid-back, which does the opposite of what they want: it pushes the pelvis forward and creates a hollow above the support.
Firmness matters too. A hard ridge digs in and makes you squirm. You want a gentle, steady pressure that you notice for the first five minutes and then forget about. Here's a quick test: slouch deliberately, then let the support bring you upright again. If you have to tense your stomach muscles to stay in the good position, the support is too aggressive or too high.
4. Armrests: Low Enough That Your Shoulders Stay Down
Armrests exist to carry your forearms, not to prop up your elbows. If you have to lift your shoulders to rest on them, they're too high, and you'll spend the day with your neck and upper back clenched. You want your shoulders relaxed, elbows near ninety degrees, forearms making light contact.
Width matters as much as height. Elbows should stay close to your body rather than splayed out. For depth, position the pads under your mid-forearm so you can pull the chair tight to the desk without the armrests colliding with the edge. If yours can't get out of the way, that's a legitimate reason to remove them — or to look for flip-up arms on your next chair.
5. Recline Tension: Stop Locking Yourself Upright
A locked ninety-degree backrest feels like the "correct" posture, but it's also the angle that loads your spine hardest. A slight recline of about 100 to 110 degrees lets the backrest carry some of your upper body weight instead of your muscles doing all of it.
Set the tension so the chair holds you in that position, and so you can lean back with light pressure from your upper body alone — no hands, no shoving. If your chair has a tilt lock, leave it unlocked so the seat moves with you a little. And if it swings so freely that you're gripping the armrests for stability, tighten it. You want support, not a rocking chair.
A Five-Minute Reset Worth Repeating
Order matters here, because each setting affects the next one. Work from the bottom up, then give it a full working day before changing anything else.
- Seat height. Forearms level with the desk, feet flat, footrest if needed.
- Seat depth. Two to three fingers of clearance behind the knee.
- Lumbar support. Belt line, gentle pressure, no bracing required.
- Armrests. Shoulders down, elbows at your sides, pads under the mid-forearm.
- Recline. A slight lean back, tension set so you can return upright without your hands.
Then change your position, not just your settings. Stand up every half hour or so, even briefly. No set of adjustments fixes a day spent entirely motionless in one shape — the best-configured chair in the world still asks you to move.
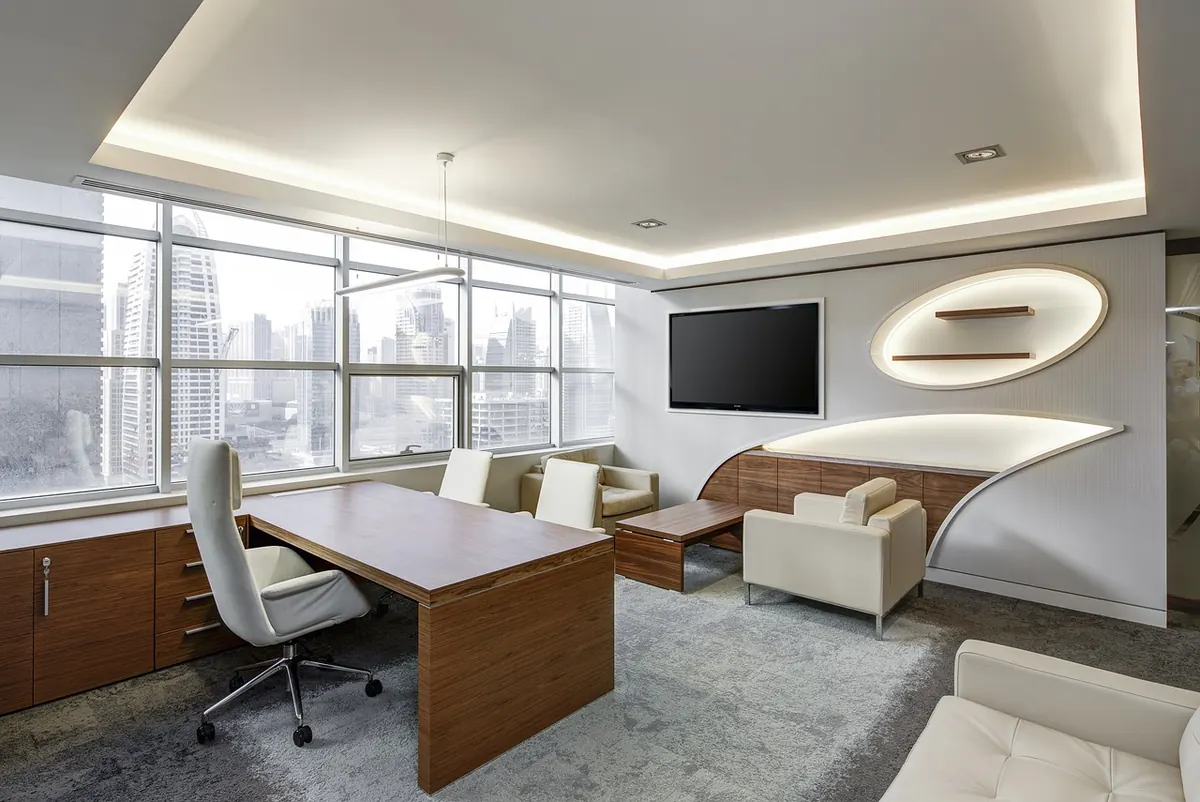
Photo: MagicDesk / Pixabay